Current production time of two weeks or less for most orders. ![]()
Series 300 Diploma Printing Instructions


Thank you for your order of graduation diplomas. We hope to provide your students with attractive and meaningful diplomas, while making the diploma process easy and inexpensive for your school.
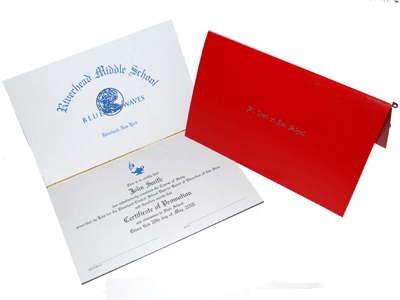
Enclosed in the shipment will be diploma covers and the associated diploma insert sheets. Please follow these simple instructions in making your diplomas a finished product.
1. Put the disk into your computer.
2. If you do not have the font already on your computer, open the disk file folder labeled FONT and copy it to your computer font folder (located in your computer control panel.)
3. Save the diploma WORD document into your hard drive so you always have the disk handy as a backup for future use. Keep the disk in a safe place and always work from your computer file.
4. On your computer screen enter the graduation date on the diploma form.
5. Print out a SAMPLE white sheet and hold up in the light behind your preprinted diploma sheet to check margins. Make any adjustments necessary. (The disk comes with the diploma already properly placed on the sheet.)
6. Place the preprinted sheets into your computer printer.
7. Type in student names and hit PRINT. (It will work on Laser and Inkjet printers.)
You can easily make any text changes you wish. We have provided you with extra sheets in case there is some spoilage.
If you have any questions call 1-800-669-0887 to speak with a representative of Kremer Publications, Inc. – parent company to Graduation Ink.

